OpsGenie Notifications
OpsGenie notifications allow for alerts to be sent to an OpsGenie account, usually as part of an organisations standard call out and alerting system.
EndPoint Monitor allows for multiple integrations with OpsGenie allowing for complete flexibility of how alerts and callouts are configured for each group of checks.
Setup
- Once logged into OpsGenie, click Settings along the top menu options.
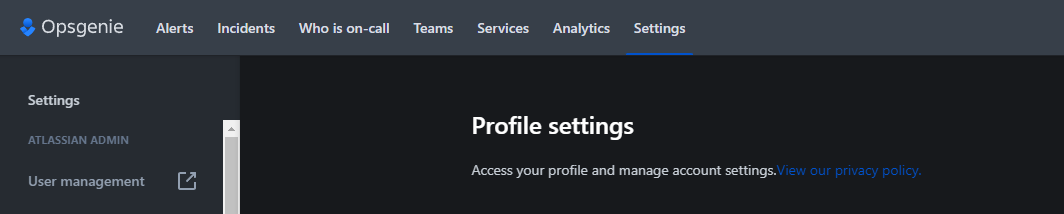
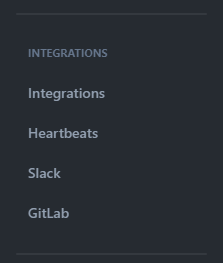
- Click Integrations under the Integrations header on the left-hand side menu.
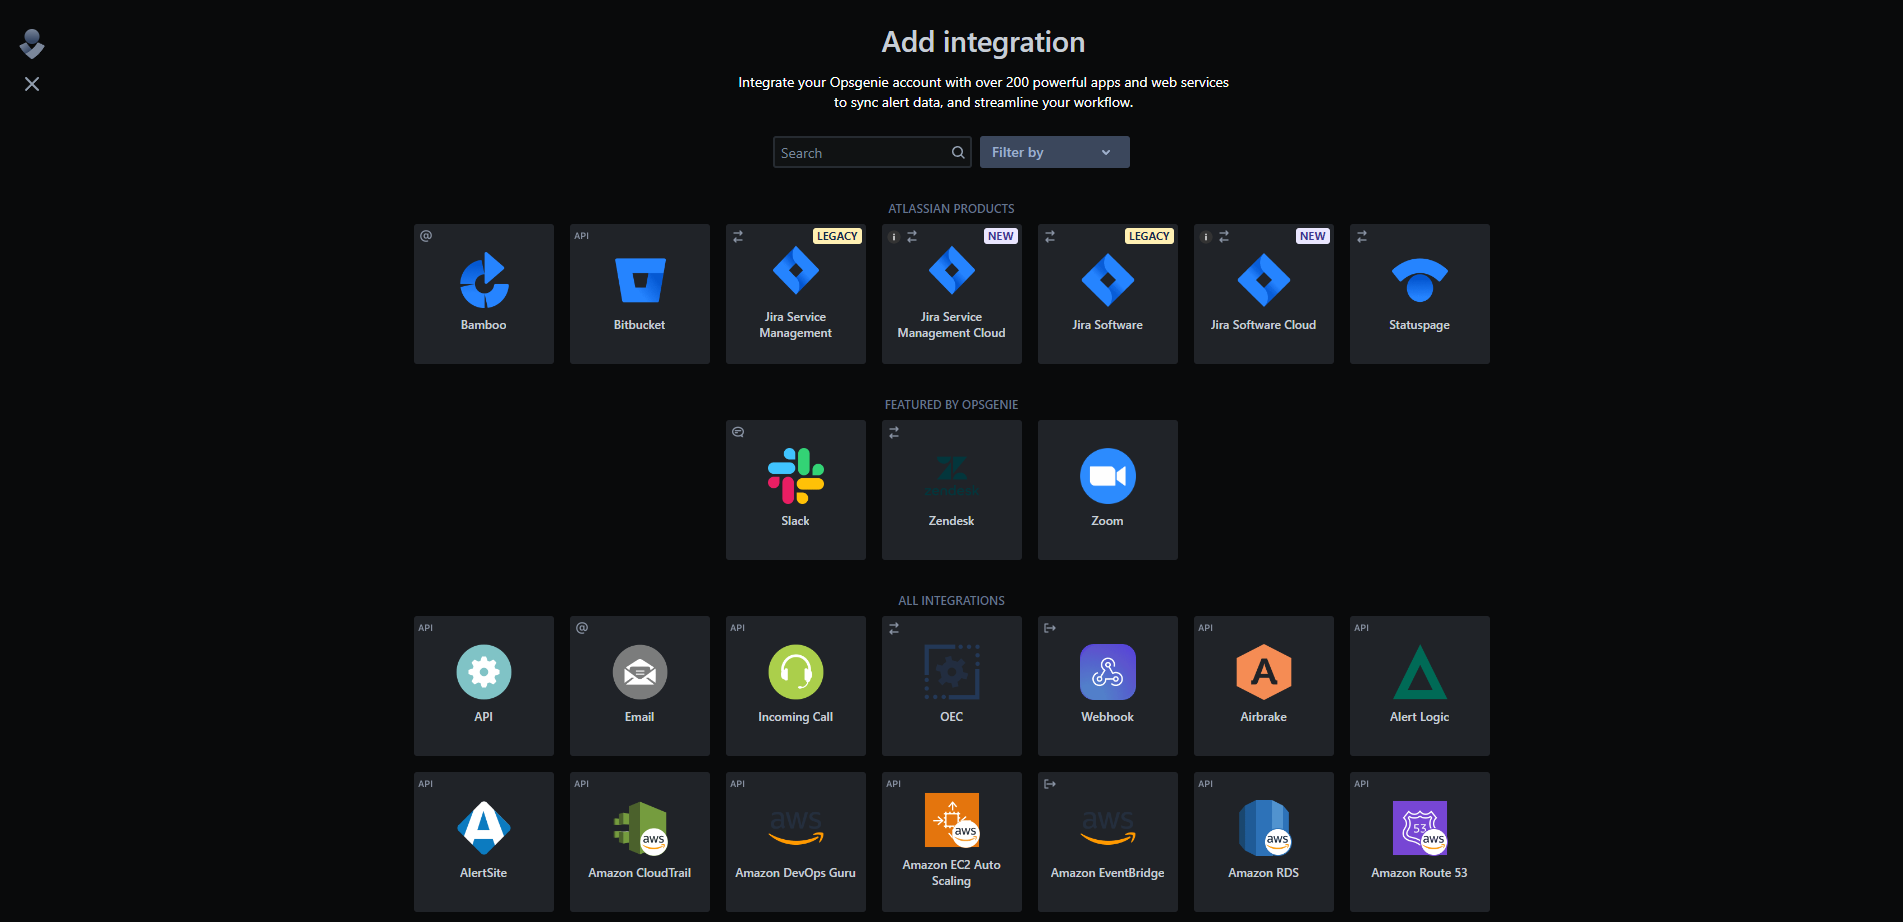
- Click Add Integration and then click on the API option.
- Provide a name for the new integration and set other desired configuration for your OpsGenie EndPoint Monitor alerts
such as the team assigned and responders.
The EndPoint Monitor integration requires bothRead AccessandCreate and Update Accessto be selected.
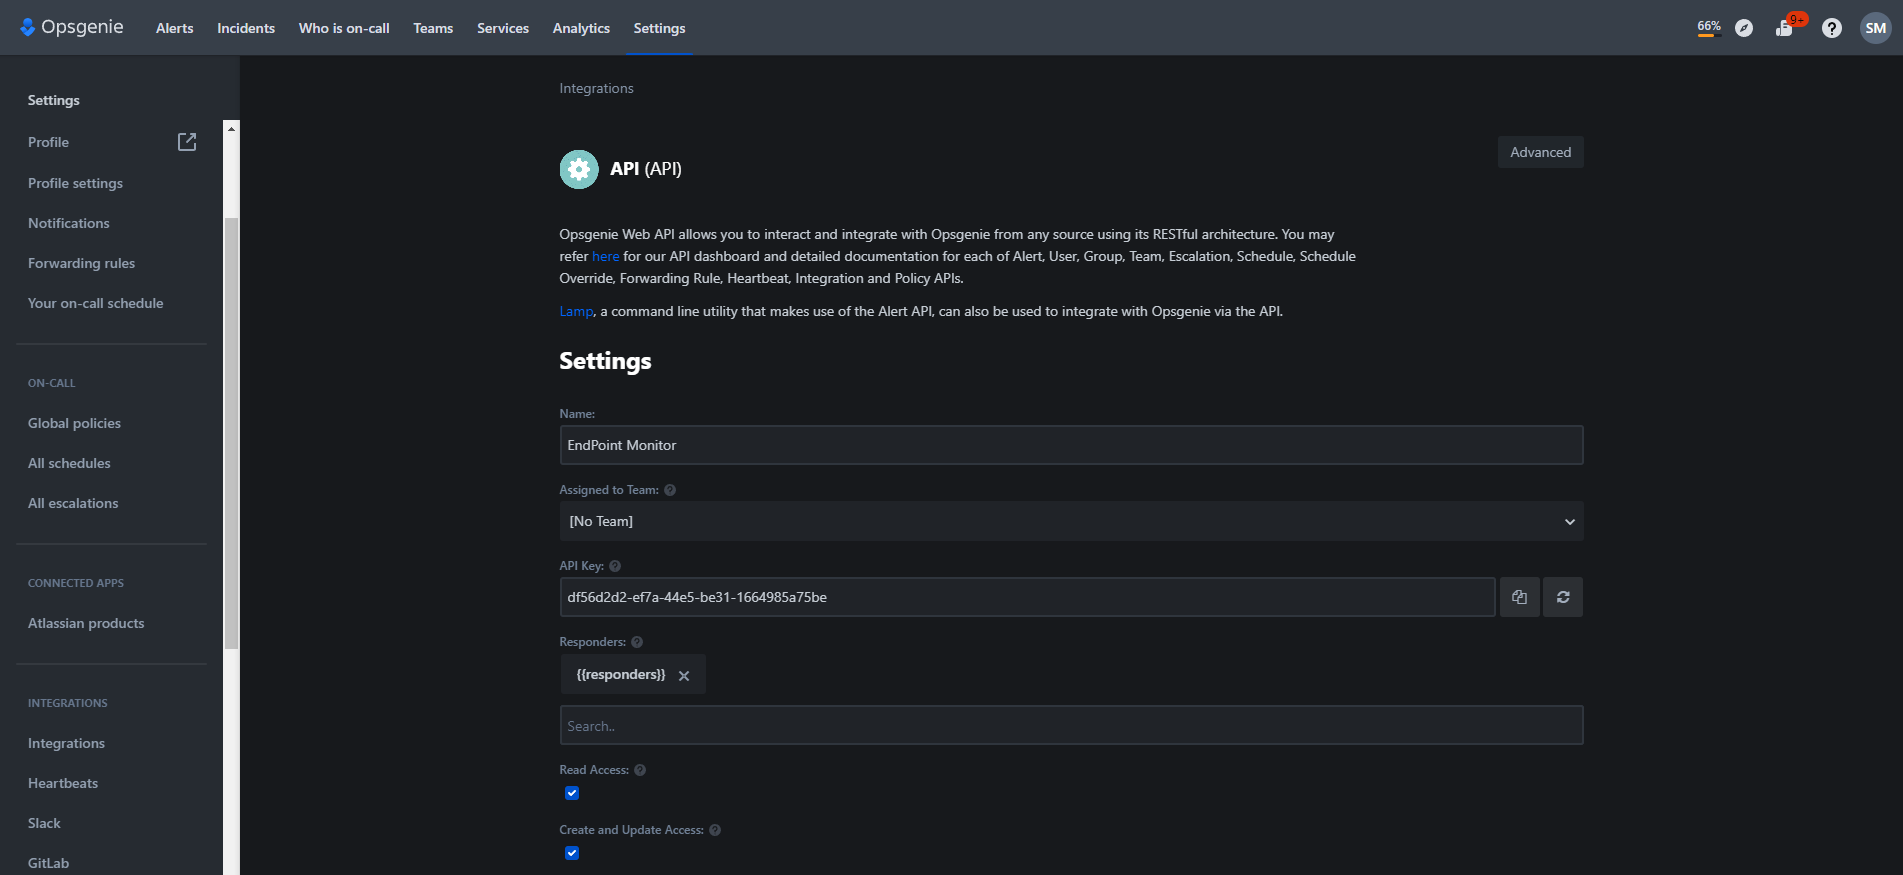
- Take a copy of the
API Keyshown ready to input into EndPoint Monitor on a later step. - Click Save Integration.
- Navigate to your EndPoint Monitor installation and login to Web Console and select Notifications from the main menu.
- Click
Add located towards the top left of the web console. - The Create Notification window should now show.
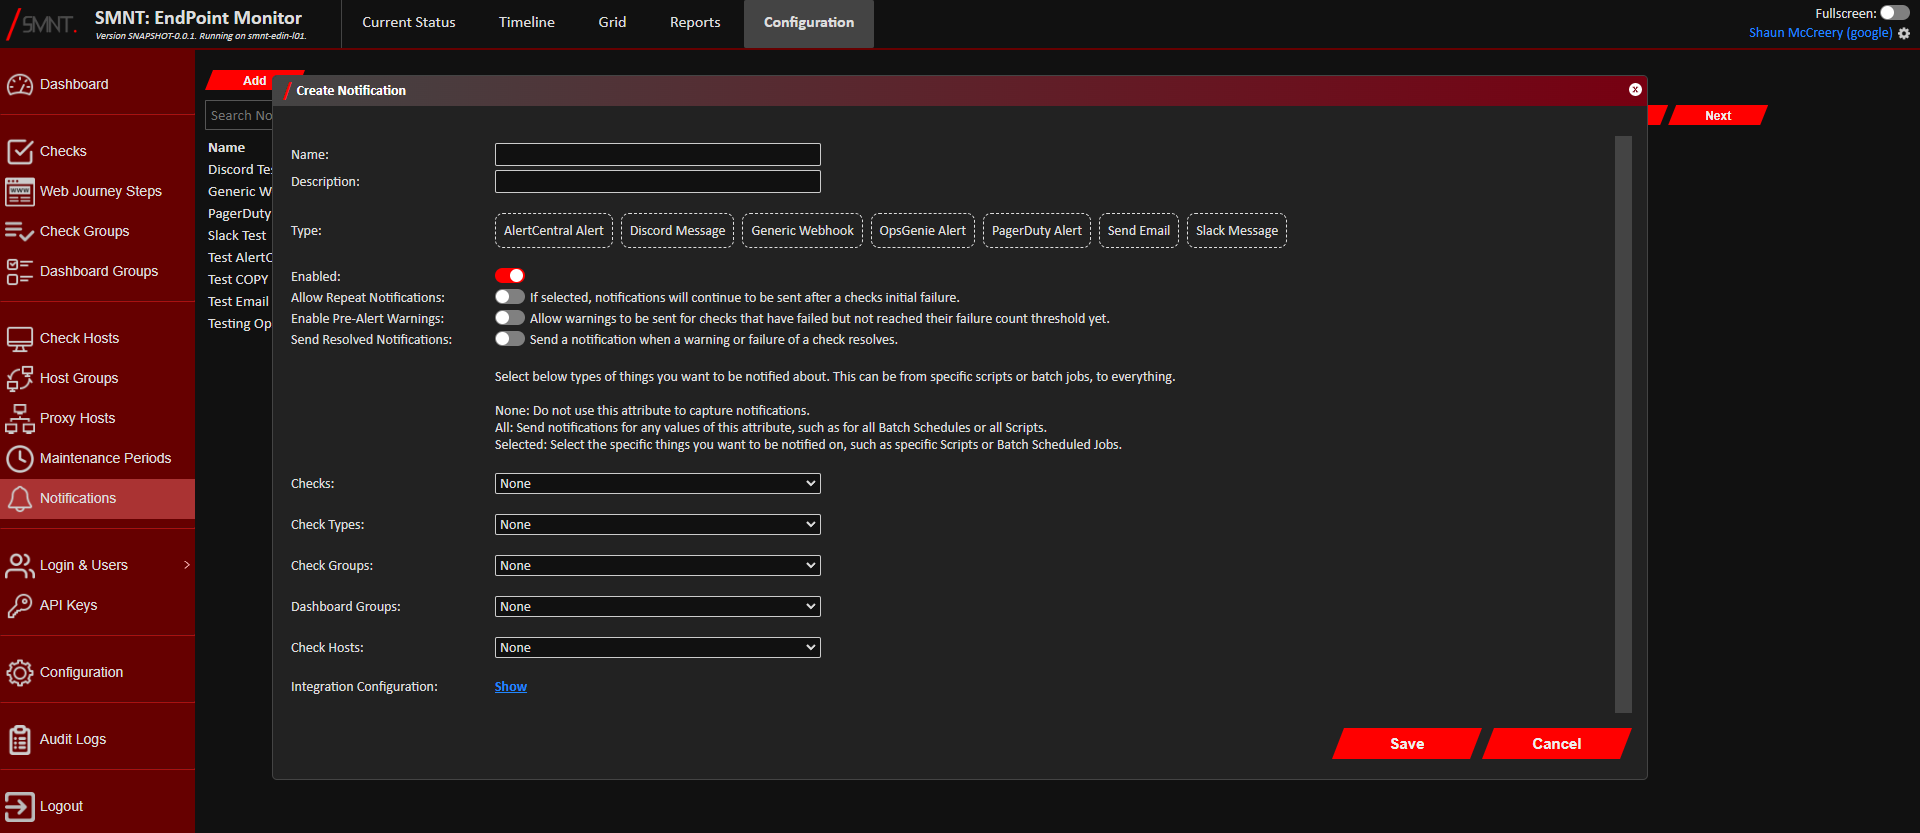
Provide a name and description, and select OpsGenie Alert as the type. - Using the Checks, Check Types, Check Groups, App Groups and Check Hosts configuration options, select what checks, if
not all, that you want to create an alert in OpsGenie.
See Configuration Definitions these configuration options.
- Click
Show next to Integration Configuration.
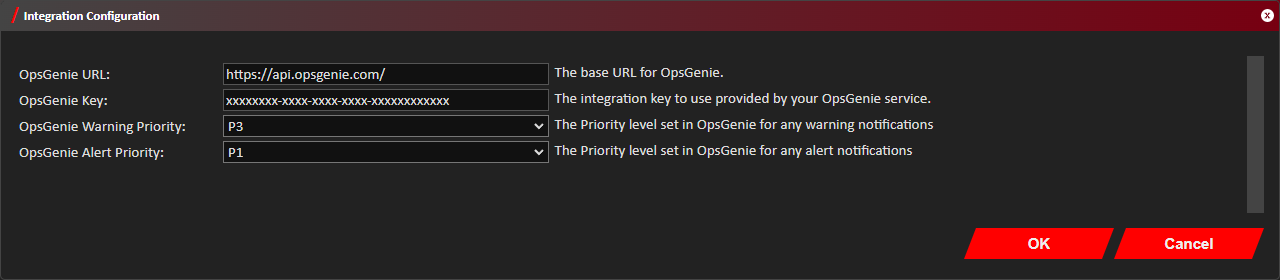
- Provide the OpsGenie URL, which is typically either
https://api.opsgenie.com/orhttps://api.eu.opsgenie.com/. - Enter the API Key given by OpsGenie into the OpsGenie Key field.
- If you want to change the defaults, you can change the priority set in OpsGenie for warnings and alerts sent to it
from EndPoint Monitor using the OpsGenie Warning Priority and OpsGenie Alert Priority options.
- Click
OK on the Integration Configuration window. - Click
Save . - You should now see confirmation that the Notification was successfully created in the bottom right notification area
in the web console.
The newly created OpsGenie notification will immediately be active any future triggered warnings and alerts that match your selection criteria should now create an alert in OpsGenie.