Proxy Hosts
Proxy Hosts can be used for proxying some checks and services within EndPoint Monitor through an HTTP proxy where one
may be required due to network constraints.
The following types of check can use a Proxy Host:
- URL Check
- Version Check
- Web Journey Check
Additionally you can use a Proxy Host for a Google OAuth Authentication Service.
Only HTTP proxies are currently supported, and if your proxy is using a self-signed certificate you will need to import that certificate or its issuer into your JVM trust store.
Adding Proxy Hosts
Proxy Hosts can be created through the web console, through the API or using Terraform.
The below instructions describe how to add a Proxy Host through the web console:
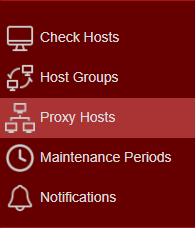
- Login to Web Console and select Proxy Hosts from the main menu.
-
Click
Add located towards the top left of the web console. -
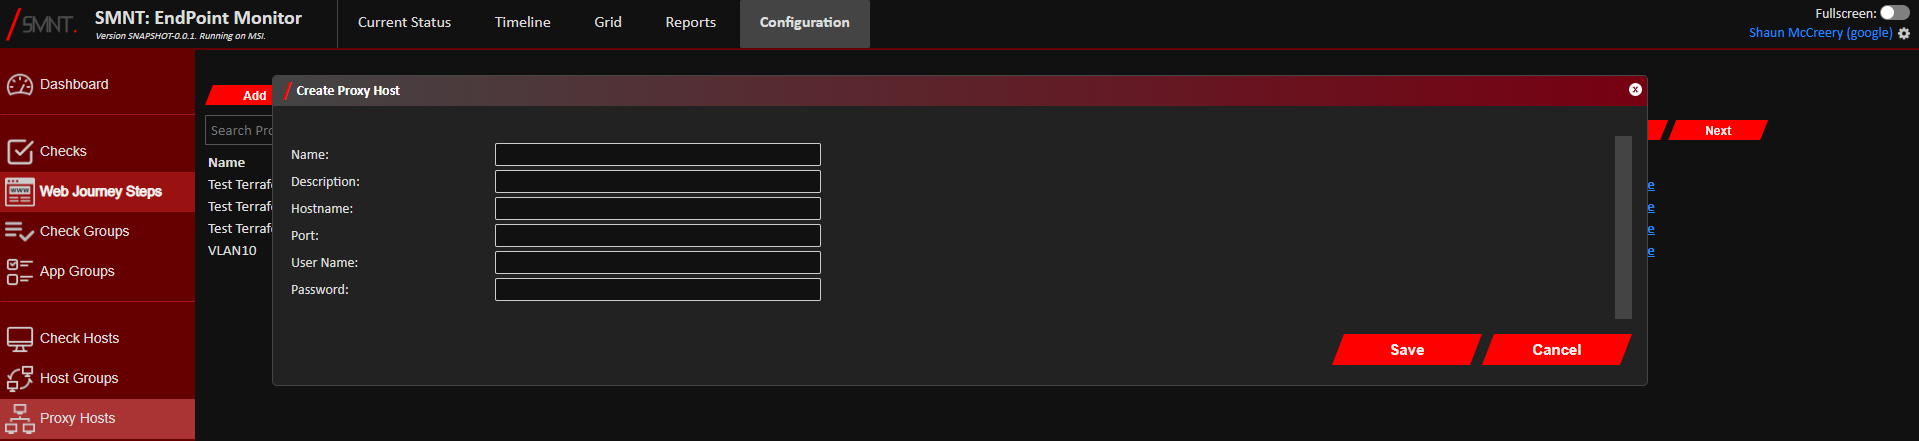
The Create Proxy Host window should now show.
Add the information for the new Proxy Host. Definitions of each of the fields can be found here.
- Click
Save . - You should now see confirmation that the Proxy Host was successfully created in the bottom right notification area
in the web console.
The Proxy Host should immediately be available for use with any supported Checks and any Google OAuth Authentication Service.
Amending Proxy Hosts
- Login to Web Console and select Proxy Hosts from the main menu.
- Check
Edit on the row of the Proxy Host to update.
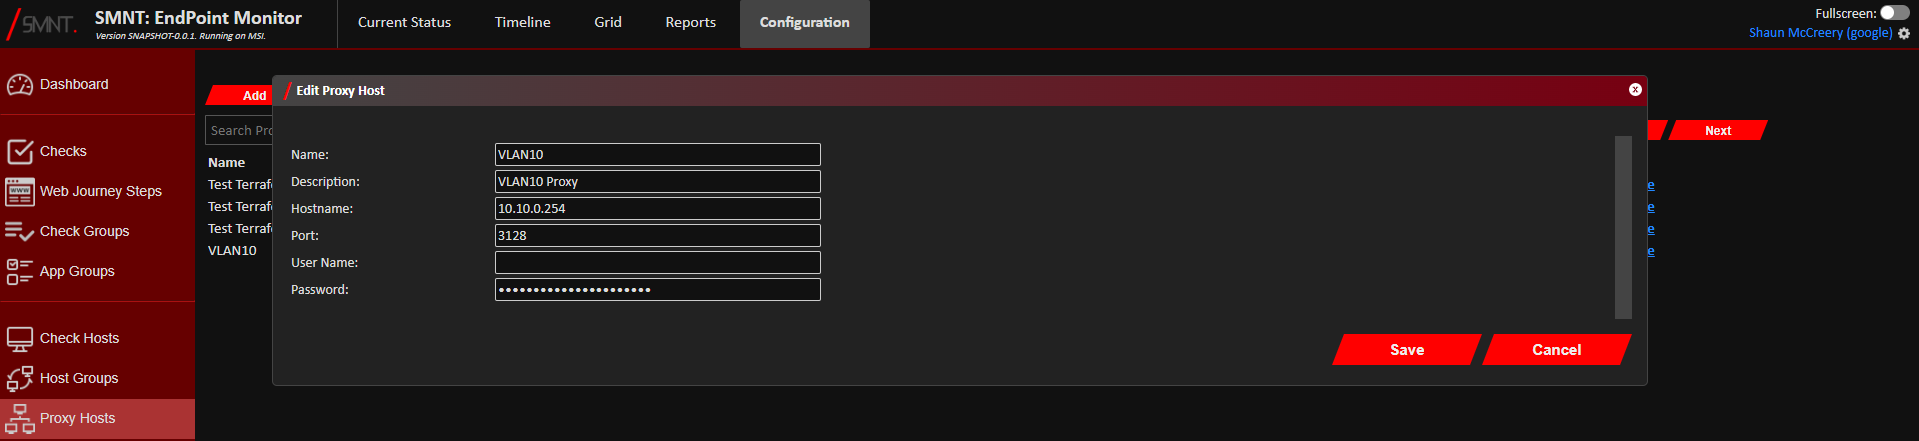
You can filter our the list of Proxy Hosts shown by name, description or hostname using the search bar. - Make the amendments required to the Proxy Host. Definitions of each of the fields can be found here.
- Click
Save . - You should now see confirmation that the Proxy Host was successfully updated in the bottom right notification area
in the web console.
Changes may take up to a minute to take effect while controller and agent caches are updated.
Removing Proxy Hosts
- Login to Web Console and select Proxy Hosts from the main menu.
- Check
Remove on the row of the Proxy Host to update.
You can filter our the list of Proxy Hosts shown by name, description or hostname using the search bar. - Click
Remove to confirm you want to delete the selected Proxy Host. - The Proxy Host should now be deleted and should see confirmation of its deletion in the notification area in the
bottom right corner of the web console.
It may take up to a minute for all controllers and agents to be updated with the removal while their caches are updated.
Configuration Definitions
| Name | Description |
|---|---|
| Name | A name to refer to your Proxy Host as. This is what will be shown in any configuration referencing this Proxy Host. |
| Description | Space for a longer description of the purpose of this Proxy Host if needed. |
| Hostname | The hostname of the Proxy Host. This should generally be the FQDN of it, and needs to be resolvable by any agents or controllers using it. |
| Port | The port number the HTTP proxy on this Proxy Host is listening on. |
| User Name | (Optional) The user name to authenticate against the HTTP proxy. |
| Password | (Optional) The password used to authenticate against the HTTP proxy. |