Getting Started - Controller Setup
The EndPoint Monitor controller helps schedule and co-ordinate checks, provides the web interface and REST API interface to help you to manage everything. Controllers can also be used to run checks from too. Agents can only run checks but only require access to the controller(s) meaning they can be more flexibly deployed.
For a bare minimum setup you only need to set up a Controller, but for larger installations it is recommended to only run checks on agents, especially if using Web Journey (browser) checks.
The controller can be run either as a docker container using our managed image, or directly on a Linux machine of your choosing. This page will cover setting up both.
Requirements
Compute Requirements
| CPU | >= 2 cores |
| Memory | >= 2GB memory |
| Disk | >= 20GB* |
* If using Web Journey checks, you may want to provision a shared disk with more space to store captured screenshots and DOM files on.
Software Requirements
If running directly on a virtual or physical host, you will need at least the following: - Java 17 JRE - MySQL database (either local or remote) - Google Chrome or Chromium (if running Web Journey checks) - Appropriate ChromeDriver for the version of Chrome or Chromium installed (if running Web Journey checks)
Alternatively you can just run our managed Docker image which will only require you to then have a MySQL database available for the controller to use.
Configuration
Configuration can be set through one of two ways, through the endPointMonitor.properties file generated after
finishing the configuration in Setup Mode, or through using environment variables.
A full definition of what configuration options are available can be found in the Configuration section.
Docker
A managed official container images for EndPoint Monitor controllers are available in Docker Hub under smntuk/endpointmonitor.
To launch an initial container and get run the initial configuration, the SETUP_ENABLED environment variable can be set
with a value of true, and this will allow the Controller to launch without any additional configuration.
To try locally, you can start is like below:
docker run -e SETUP_ENABLED=true -p 8080:8080 smntuk/endpointmonitor:controller
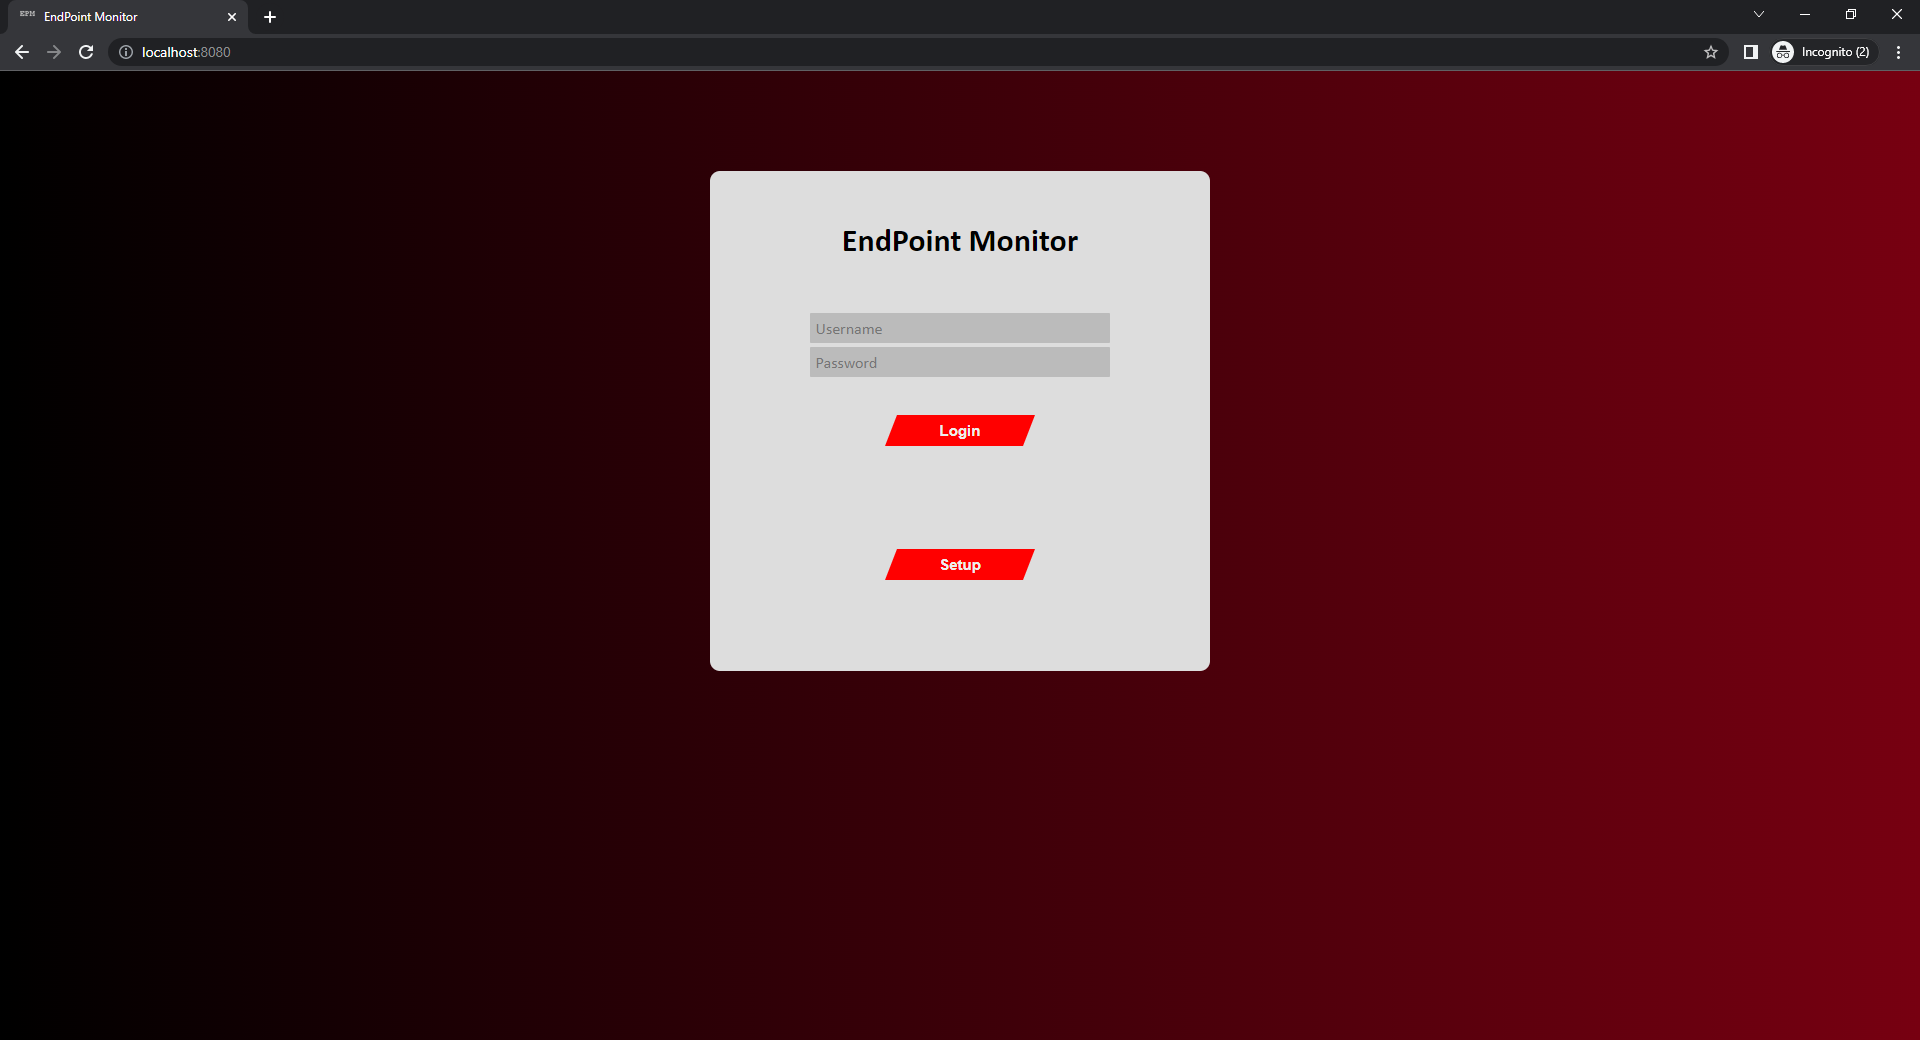
Once started, this should allow the web console to start, which then can be accessed at http://localhost:8080.
The default port for the web console is 8080, this can be changed if needed by setting the CONTROLLER_PORT
environment variable to a desired port number above 1024. Don't forget to change the port number in your docker
command too!
From here, you can then continue the setup process.
Linux
The instructions below provide the recommended method for installing the EndPoint Monitor controller directly on a Linux host.
- Download and run the setup script from https://download.smnt.co.uk/endPointMonitor/setup.sh
wget https://download.smnt.co.uk/endPointMonitor/setup.sh && sudo sh setup.sh - Follow the prompts to chose where to install the application, where to store logs, what user to run the application
as and what port the web console should listen on. It's recommended to use the default options given if you can.
- The setup script will now download and install the application for you, setup the application user if it doesn't
already exist, and generate the required encryption keys for you.
- Start the EndPoint Monitor controller using the generated init.sh script, located in the directory you selected for
installation (/opt/smnt/endPointMonitor/ if using the default option).
sudo /opt/smnt/endPointMonitor/init.sh start
- The EndPoint Monitor web console should now be available to access on the port selected (default of 8080).
From here, you can then continue the setup process.
Setup Screen
Once you have successfully started the EndPoint Monitor controller running either directly on a Linux machine or using
the managed Docker image, you should now be able to see the Login Page with a setup option.
- Click the
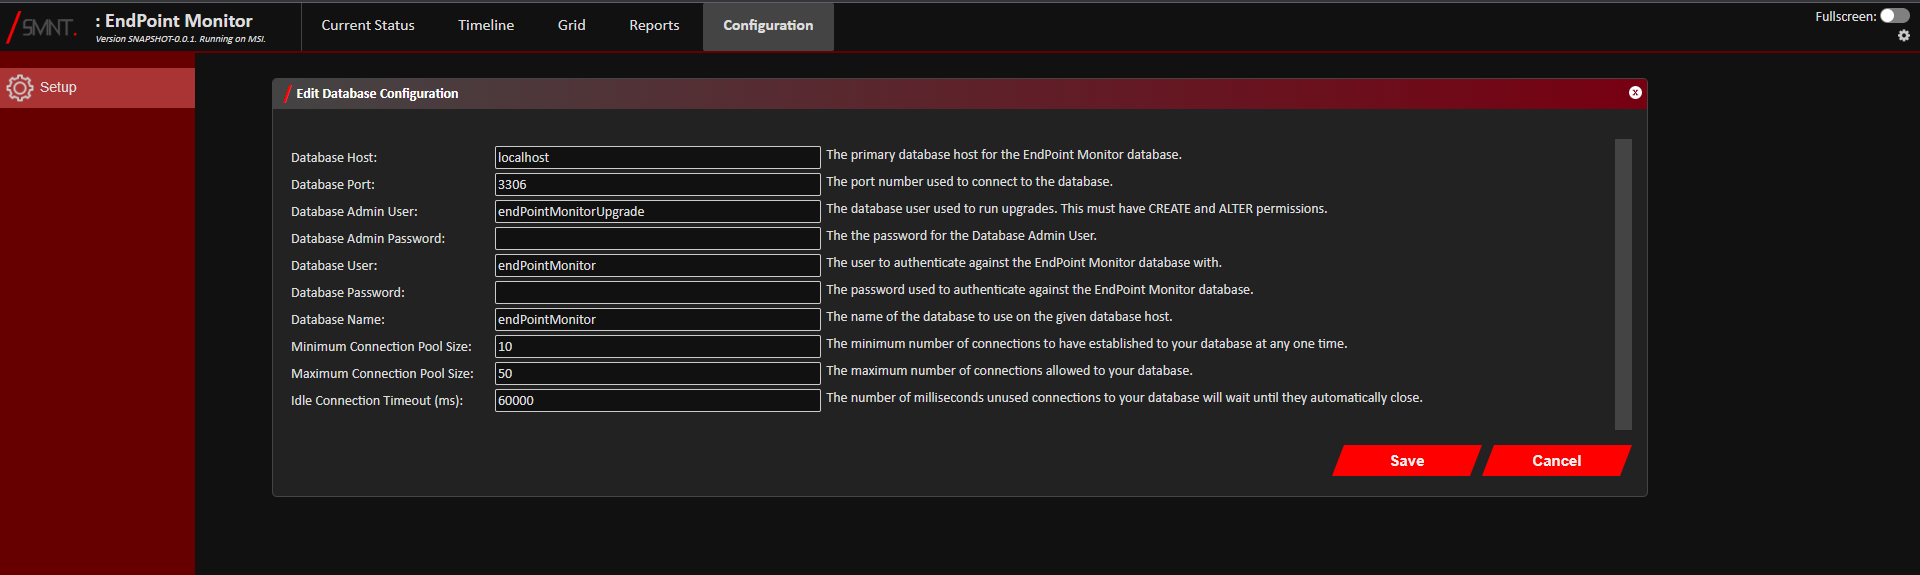
Enter your database configuration as prompted. The 'admin' user requested should be a privileged user and will be
used to initialise the database and well as run any changes required on upgrades. The 'normal' user should only have
normal CRUD permissions. See the Database Setup for more information.
Click
- If Database Upgrades were enabled as part of your database configuration above, then the EndPoint Monitor controller
will now be attempting to set up your database using the database 'admin' user provided.
- The Global Configuration should now be shown, allowing you to set up the high level configuration needed to run the
EndPoint Monitor controller. The configuration contains information on each of the configuration
options.
Double check that the Allowed URL's value contains the URL's you will be continuing to access the EndPoint Monitor
controller on. This can be modified later too, but can cause access issues after setup if this doesn't contain the
URL you can are currently accessing the controller on.
All Global Configuration can be changed at any time after setup.
Click
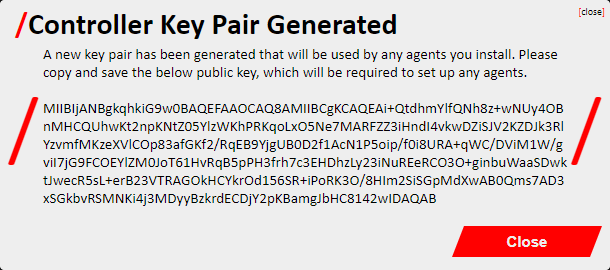
- After saving the Global Configuration, a new controller public key will be generated. It may be useful to store this
somewhere readily accessible if also setting up agents, it can always be accessed through the Configuration menu
option after installation too.
Click
- The Runtime Configuration should now be shown. If using environment variables to manage your configuration, they can
be copied from here. If using the endPointMonitor.properties file to persist your configuration then this has
automatically been updated and saved on your host.
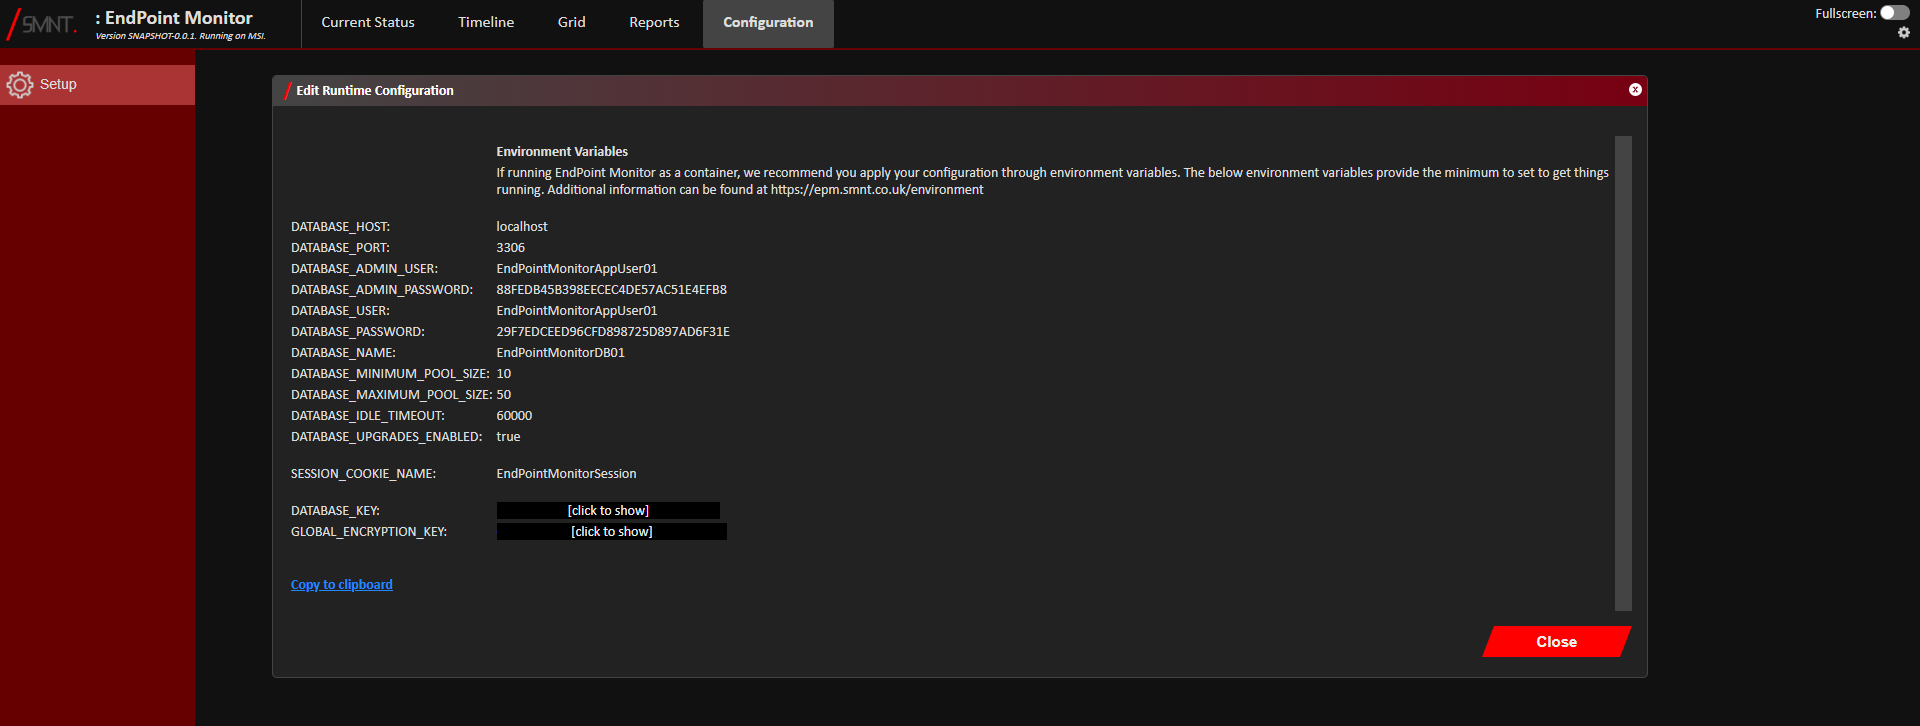
IMPORTANT: If using environment variables to manage configuration, make sure that the SETUP_ENABLED environment
variable is removed from now on, or next time your container is launched then it will launch back into this setup
mode, enabling anyone to change your configuration.
Click
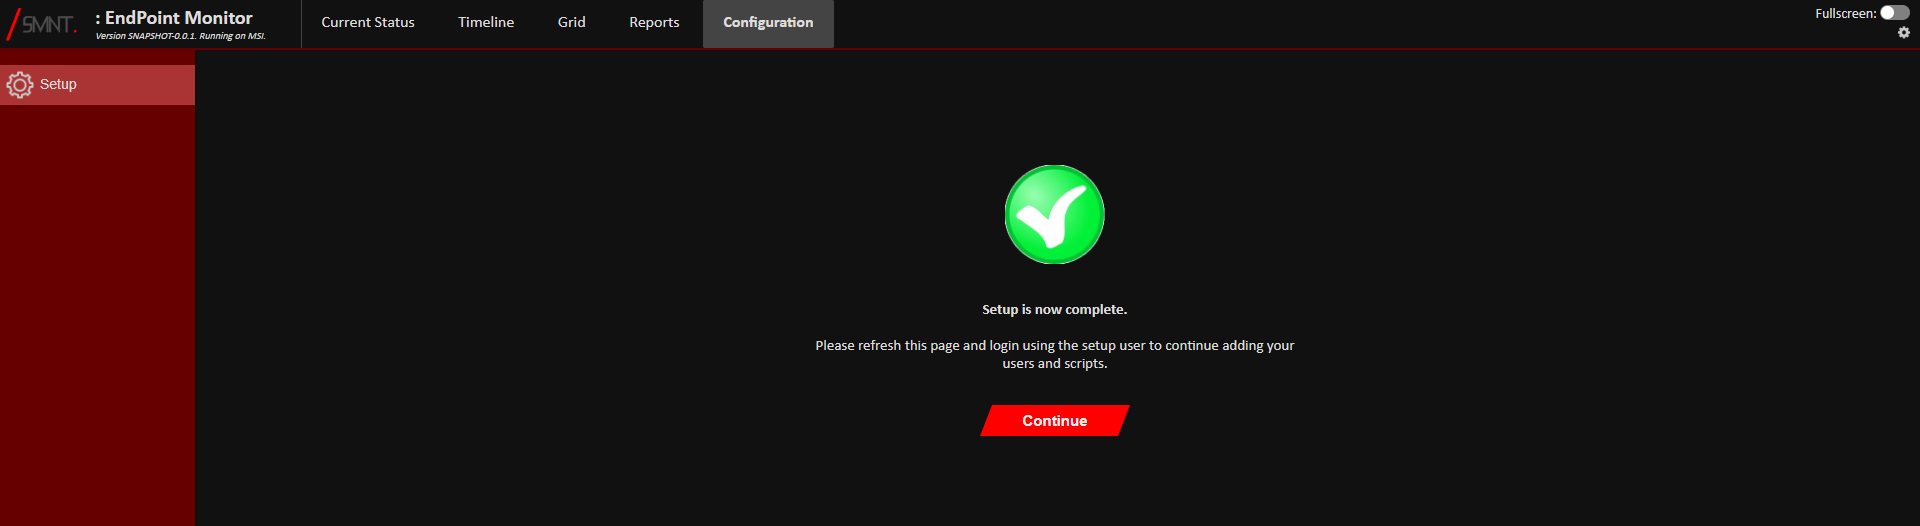
- Initial setup should now be complete. You should see confirmation of this as shown below, and the EndPoint
Monitor controller will no longer be in 'setup mode', meaning you can now login and start building your checks.
Click
- The default login credentials are:
User: setup
Password: password
You can now set up your Authentication Services, Users and start building Checks.